Description for creating an event entry in TYPO3.
Enter the list module
After you logged into the TYPO3 CMS click on „List“ in the menu on the left side. You can toggle the labels with the little menu icon at the very top left, if you only see icons.
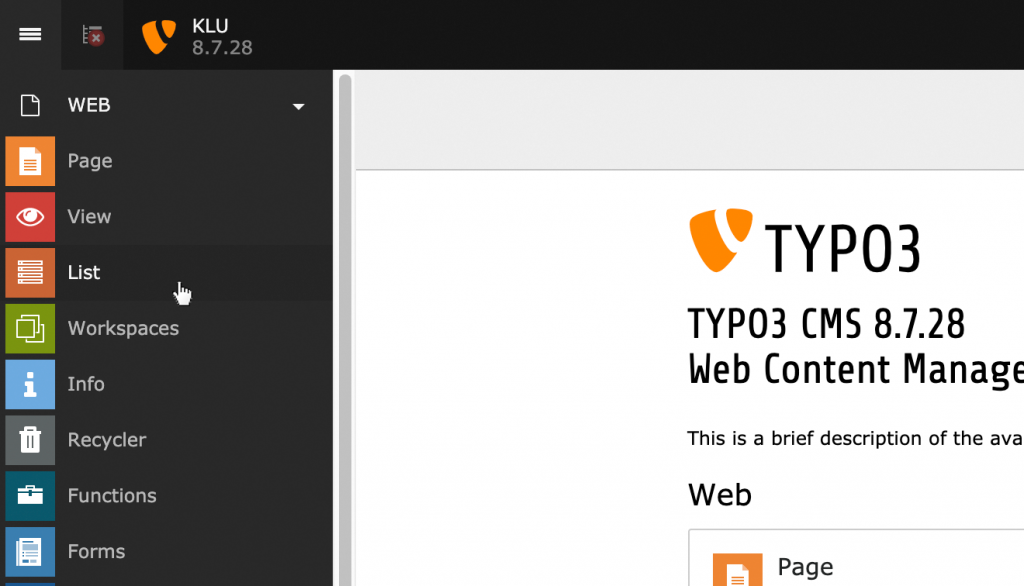
Navigate to the correct location inside the page tree
After you entered the list module you should see the page tree next to the menu you just clicked on. If you do not see the page tree you have to toggle it with the second little button at the very top left next to the TYPO3 logo.
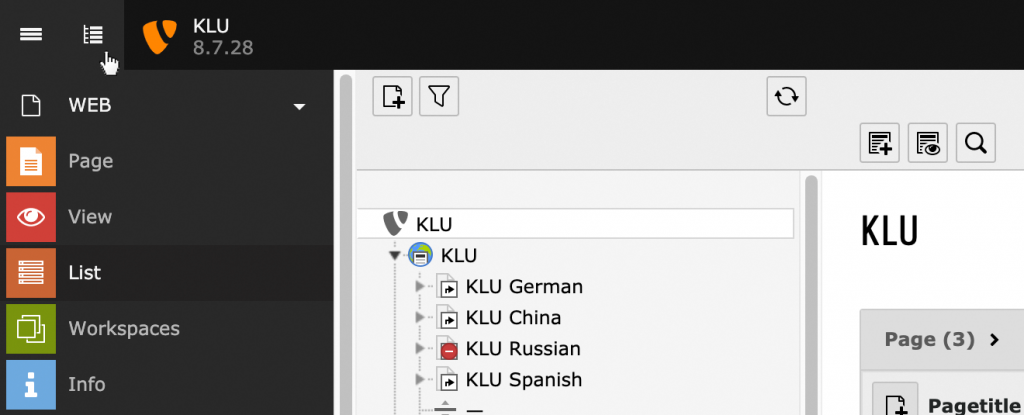
You can open and collapse entries in the page tree by clicking on the little arrow next to the title.
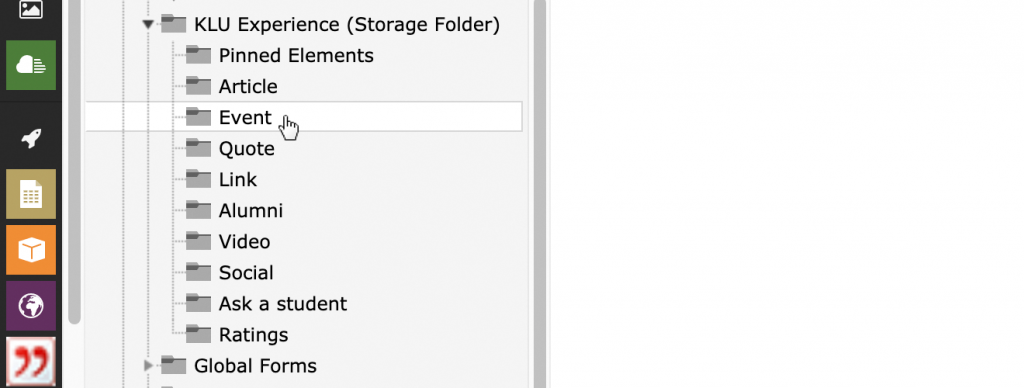
Open the root element for the KLU website which is called „KLU“ and has a little globe icon next to it. Scroll down and open the Folder „KLU Experience (Storage Folder)“ by clicking the little arrow icon. Now you can click on the „Event“ folder.
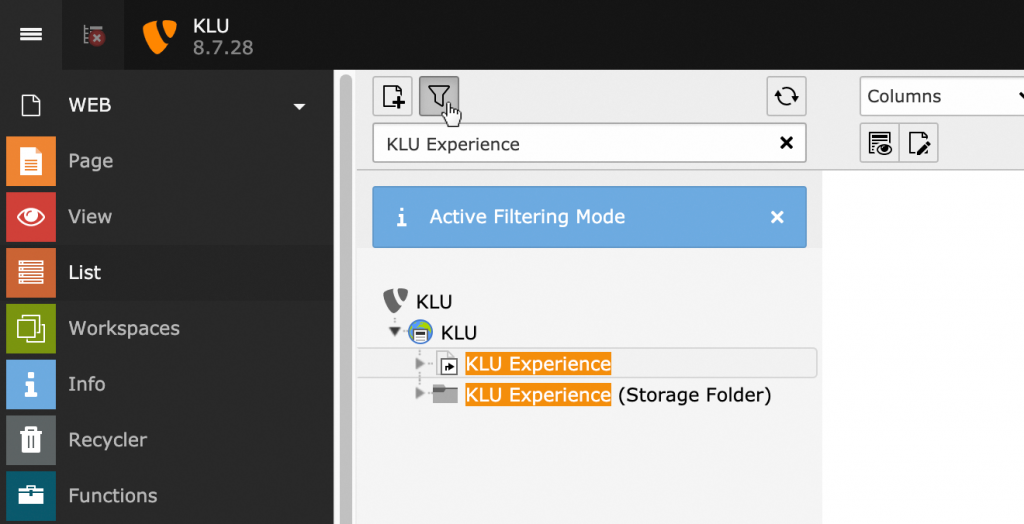
Go there by filter
You might also use the filter. Click on the little icon above the page tree and type in „KLU Experience“.
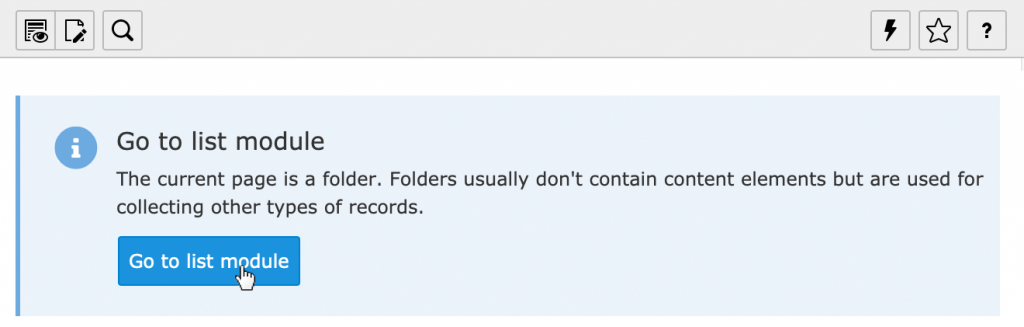
After you opened the „Event“ folder, you should see a list of events. If you do not see the list, you are probably in the page module. In this case TYPO3 will prompt you to switch to the list module.
Create a new experience element
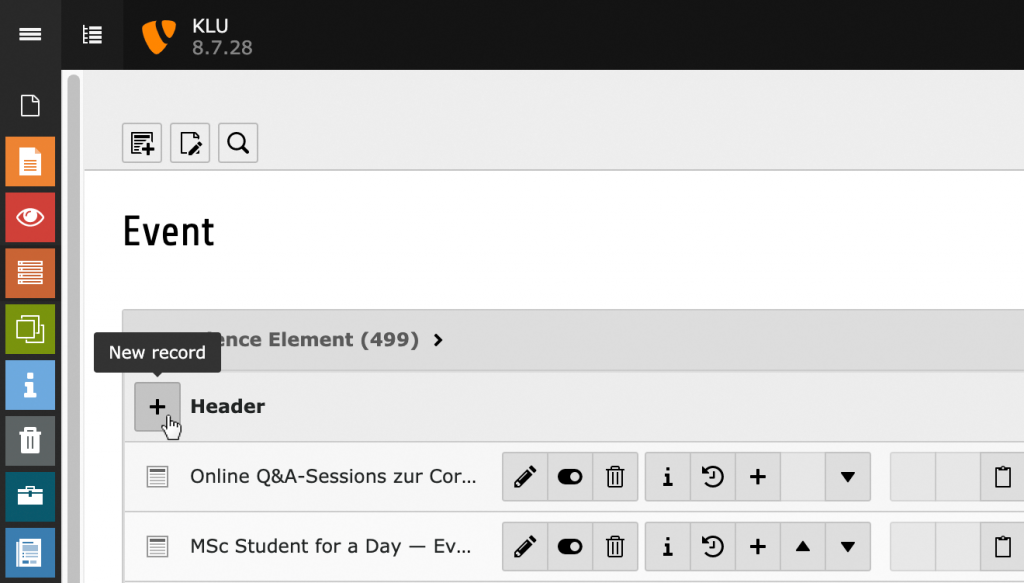
Click on the plus icon above the list of experience elements to add a new one.
Now you see several input fields. Read on to get to know the functionality of all input fields.
Select the correct type
First you should select the correct type under the label „Type“. Set it to „Event“ and confirm the popup to reload the page and the visible input fields.
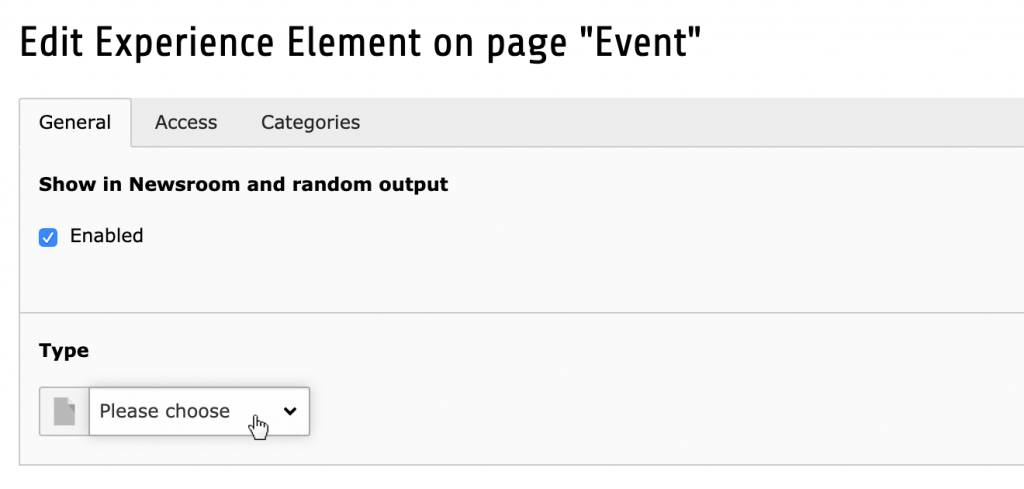
Please note: The input fields are divided into tabs as you can see at the top of the page. Most of the important fields are found under the „General“ tab.
Please note: Not all input fields are available for both subtypes („Standard“ and „Link“).
Manage the language settings
Language
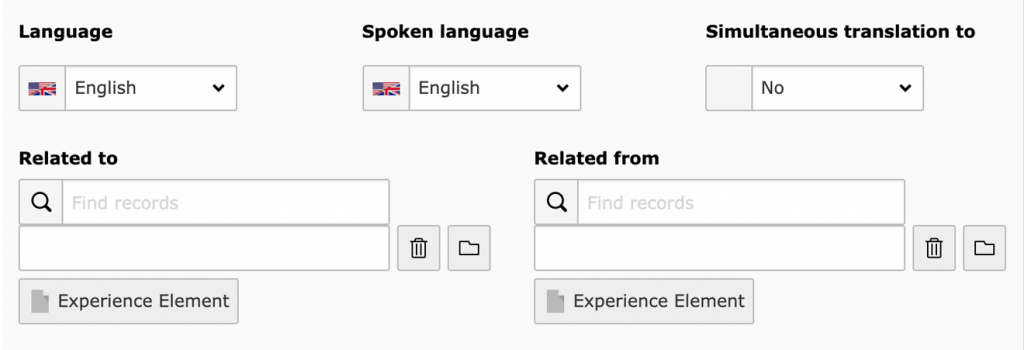
Select the language in which the content of your event page is going to be displayed.
Spoken language
Select the language in which the event takes place.
Simultaneous translation to
If your event takes place in two different languages, you can select the other one here.
Relation settings
Use these settings if you plan to create the event page in two different languages. You have to create two events (one for each language). If you connect them with these relational settings, a small language flag at the top of the event page will lead the visitor to the respective translation.
It is a good approach to set up the link only after both event pages are fully configured, therefore you will find a detailed description of the procedure at the end of this manual.
Assign a headline
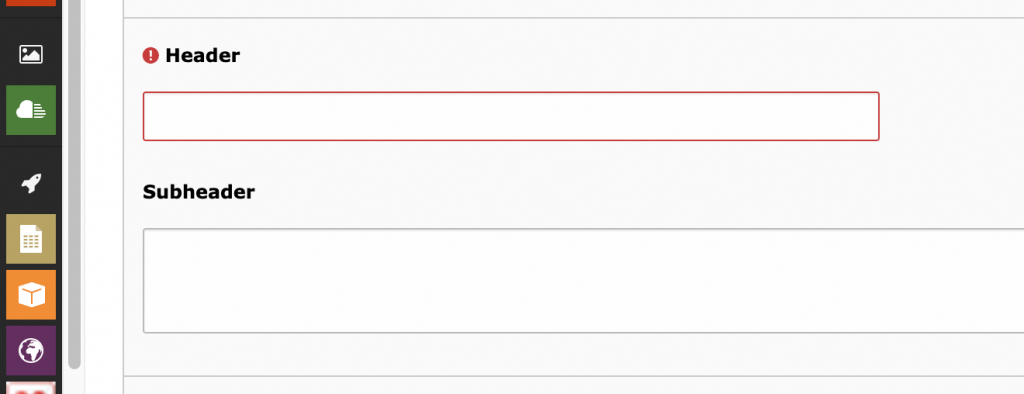
Header
This is the main heading. It is displayed at the top of your event page and in every list view. This is a required field.
Subheader
You can add an optional subheading.
Provide a date, time and location for the event
All informations provided in this section are shown in a box at the top of your event page.
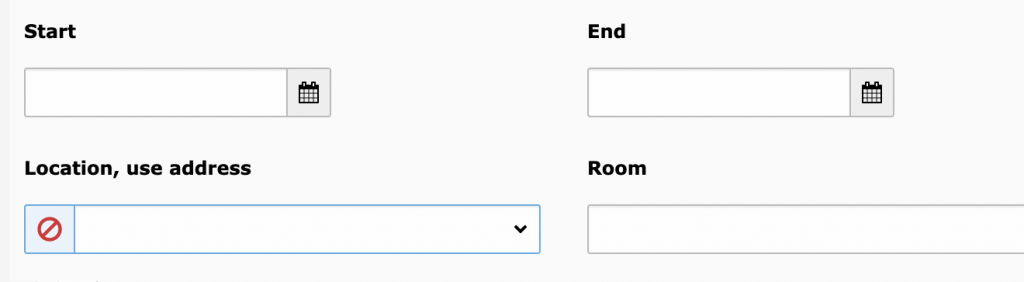
Start & End
Select when your event will start and end. If you click the button with the calendar icon next to the input field, a small calendar will open to help you with your input.
Location, use address
Select the appropriate location from the predefined data records.
Room
Enter the name of the room where the event takes place.
Add organizers and speakers
Organizers are displayed under your event page. Speakers are displayed above the main content. You can read more about content in a later section.
The input field used in this case is a bit more complicated.
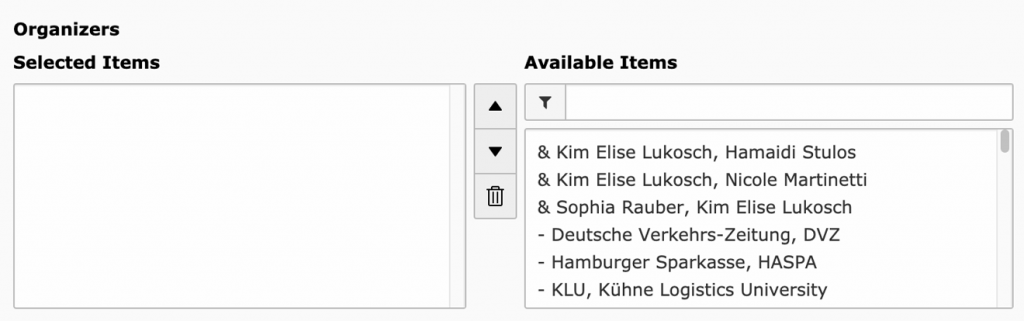
In the list on the right (labelled as „Available Items“) you will see all the people you can select. The list on the left side (labelled as „Selected Items“) contains all persons you have selected. To add one person to the selected items, just click on it under the available items. You can use the input field above the available items to search for a person.
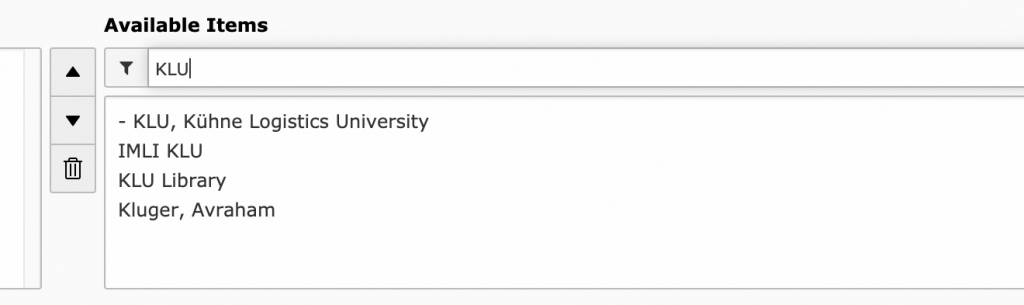
A click on an entry under the selected items will highlight it. You can use the buttons with the arrows to move it up or down in the list or with the trash bin to remove it from the selected items.
Show speakers also in list view
Use this checkbox if you want to display the speaker in the list view on the website.

Provide content
You can add content to your event page under the section „Content elements“. Click „Create new“ to add a content element.
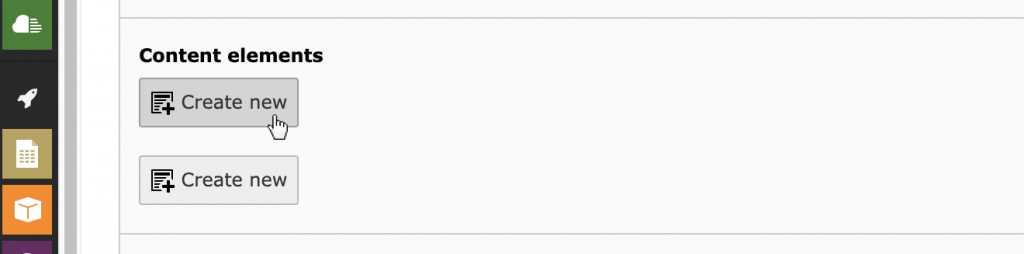
For example, you can insert a text with an image. After you created the new content element, you are provided with several additional input fields. Change the type from „Header“ to „Text & Media“. You will be prompted to reload the page. This will ensure that the correct input fields are loaded.
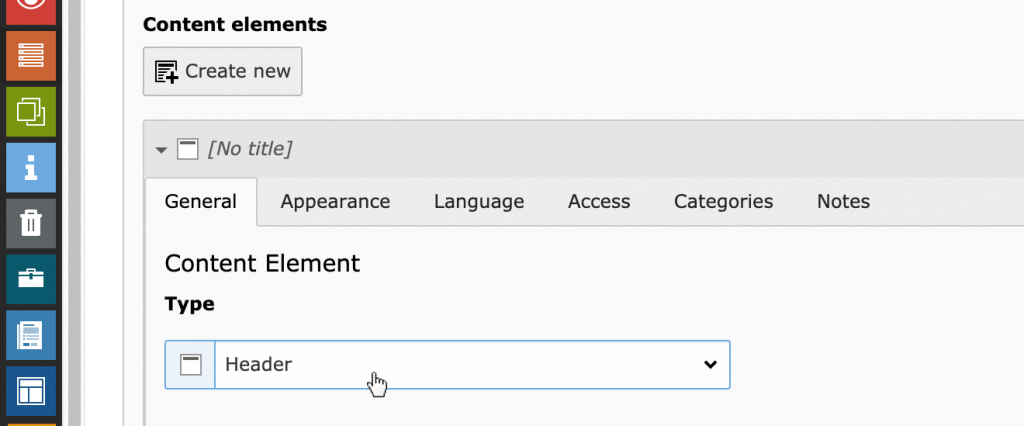
Please note: You have to scroll back down to your created content element after the page is refreshed.
The „Text & Media“ content element consists of 3 main parts.
Headlines
You can enter a heading and a subheading. These headings refer to the content, not to the event page itself.
The „Type“ field refers to the formatting and semantic meaning of the heading.
Under „Alignment“ you can align your heading. By default it will be aligned to the left.
You can use the corresponding fields to add a date and a link to your heading.
Text
This field is for your content. It is a rich text editor, which offers similar functions as for example Microsoft Word or a similar word processing program.
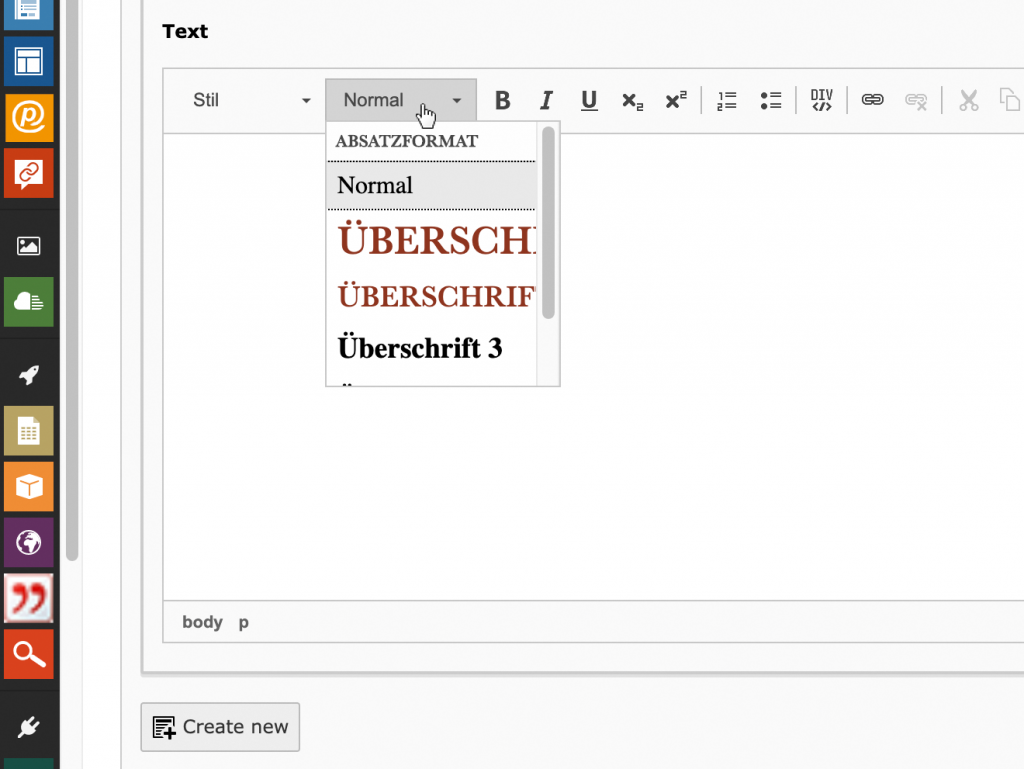
The „Format“ field, for example, allows you to format additional headings.
Media
To add images or other media (like videos) you have to switch to the „Media“ Tab.
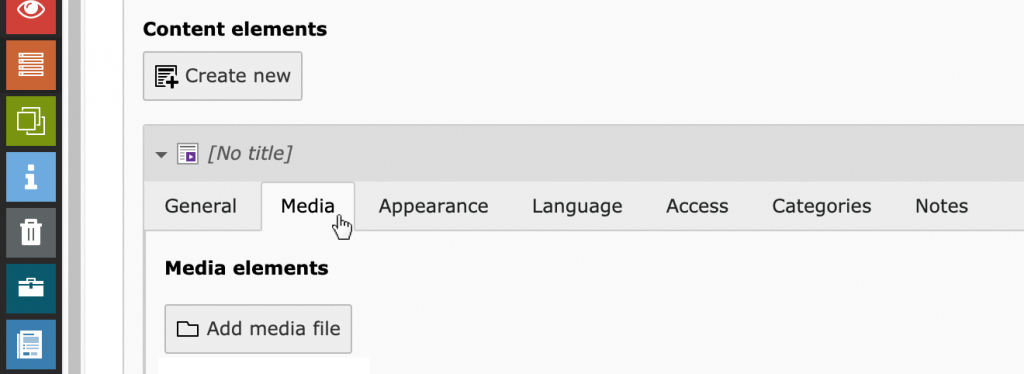
Click on the „Add media file“ button to open the file selector, which will help you select a file. Use the folder tree to navigate to your file and select it by clicking on the name or the little plus icon on the right side.
You can upload one or more files. They will be shown as a gallery, which offers various settings to change the look and feel on the website. These settings can be found in the „Gallery Settings“ section.
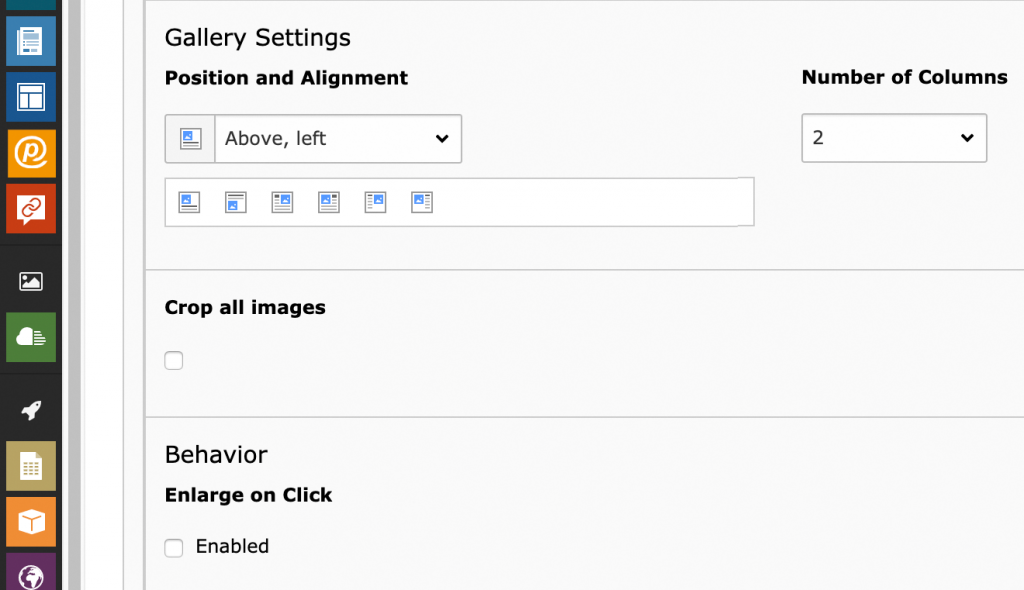
Under the item „Position and Alignment“ you can set where the files are displayed in relation to the text. You can simply click on the small icons. These visualize at which position the files are displayed.
If you want to display two or more files, you can use the „Number of columns“ field to configure how many files are displayed side by side.
If you enable „Enlarge on Click“, you enable visitors of the website to click on the image to view a larger version.
Manage multiple content elements
Working with more than one content element can be confusing. There are a few tools to make this task easier.
You can collapse each content element with the little arrow on the left next to the title. There can only be one element visible at a time. Other elements will collapse if you open one.
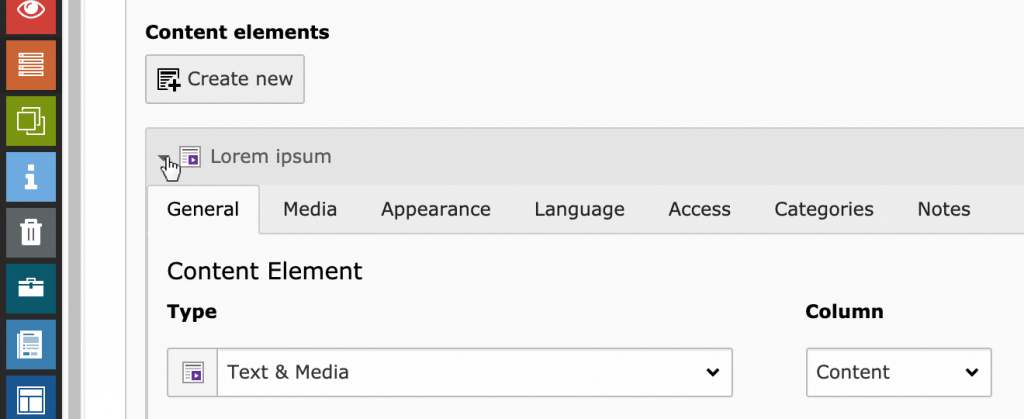
Please note: The title is generated from the „Header“ field in the „Headlines“ section. If this field is empty, the title will always be “[No title]”. You have to save the event once to update the title from the „Header“ field.
Each element has some helpful tools on the right side.
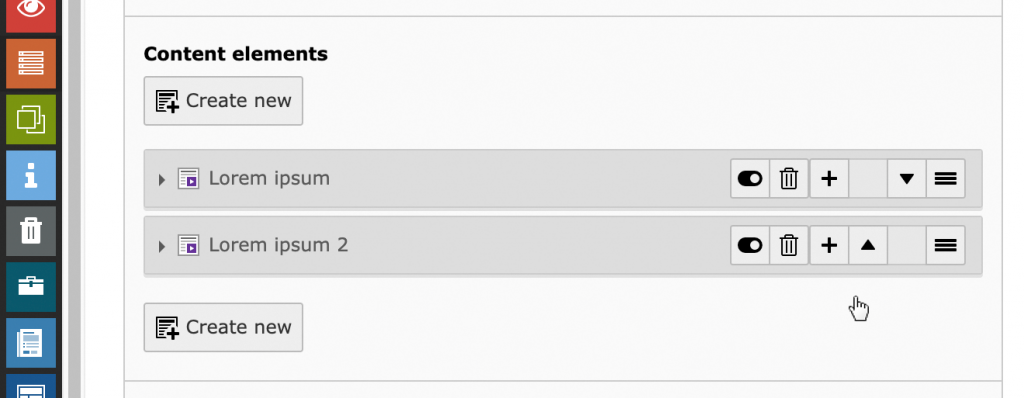
- The leftmost button (it looks like a little switch) is to hide an element on the website
- The button with the trash bin deletes the element
- The button with the plus icon adds a new content element after the selected one
- The small arrows can move elements above or below other elements
- The rightmost button (with three dashes on it) allows you to drag & drop elements above or below others
Provide a header image
In the “Images” section you can add a title image. If your event has its own content, it will be displayed above it. In addition, a section is displayed in the list view.
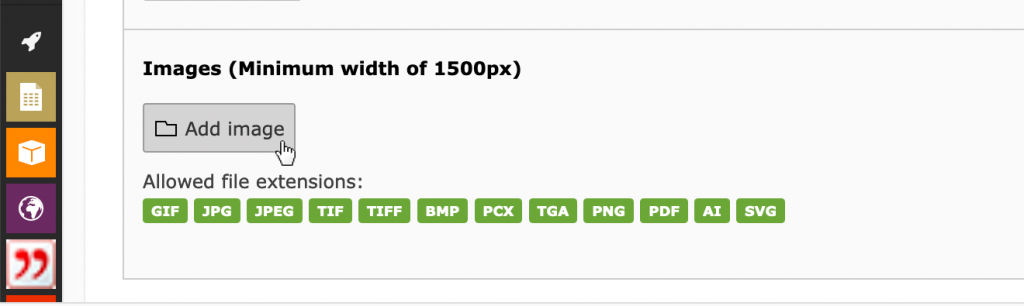
A click on “Add image” opens the file selector. It works similar to the record selector described above.
Please note: As noted, use images that are at least 1500 pixels wide. Smaller images would be too narrow for display.
A note about former content
At the top of your event page form, next to the „General“ tab, there is a „Former content“ tab. In the past, the contained fields were used to assign contents to an event. They are only available for backwards compatibility and should not be used any further, even if theoretically possible at least for text.
Create relations between two languages for one event
As mentioned above, this should be one of the last steps when creating events.
You have to create and save both versions of the event before you can fill out these fields. It is a good approach to set up the link only after both event pages are fully configured.
If you have two event pages, open the first one. This should be your main language. Now utilize the „Related to“ field, to relate to your second event page.
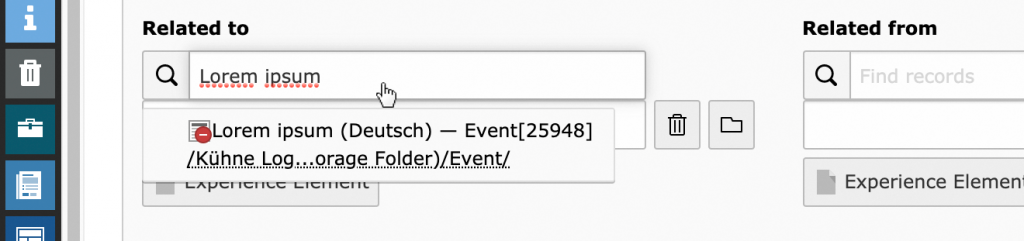
The fastest way is to know the title of the event you are looking for. If you know at least part of the title, you can use the search field for filtering.
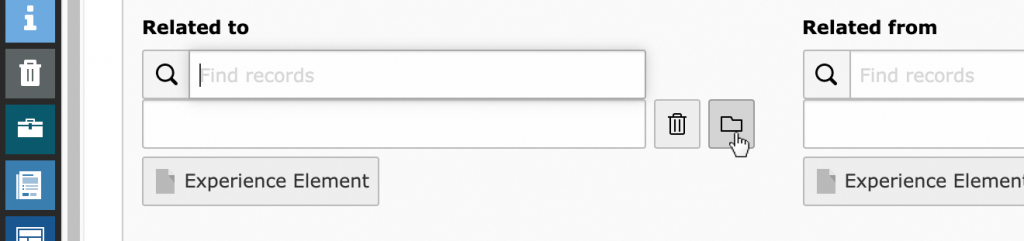
Another way to add the relation is to click the rightmost button with the little folder icon.
This will open the record selector. First use the page tree on the left to navigate to the „Event“ folder. This is the same folder, where you create your new events as described before. A list of the events created is now available on the right side. Click on the title of the event you want to relate to.
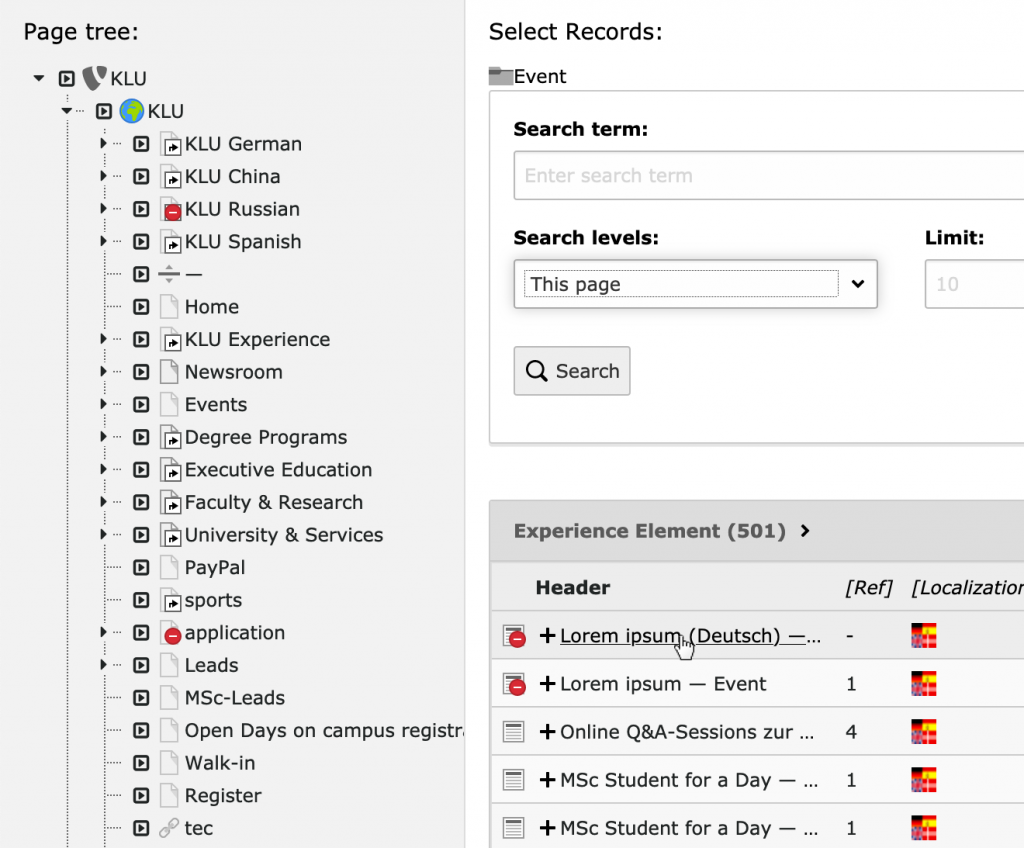
No further step is necessary to link the two events. You do not have to make any settings in the other event.
Additional information about relations
Of the two available input fields, you have only filled in one. The second field remains empty. However, when you open the linked event, the fields are filled in exactly the opposite way.
An easy way to navigate to the other event is to save the record. After saving, a link to the related event appears below the „Related to“ field. One click opens a context menu. Select the item „Edit“ and you will be forwarded directly to the corresponding record. This also works the other way around.